
How to Teach Comparing Fractions (That Actually Makes Sense to Students)
Comparing fractions is one of those skills that seems simple… until students actually have to do it.
They look at 3/4 and 5/6 and freeze.
They guess.
They try to find a pattern that isn’t there.
And if we’re being honest, this is where a lot of fraction frustration starts.
The good news? Students don’t need more tricks, they need clear strategies that actually make sense.
When you give them a few consistent ways to compare fractions, everything starts to click.
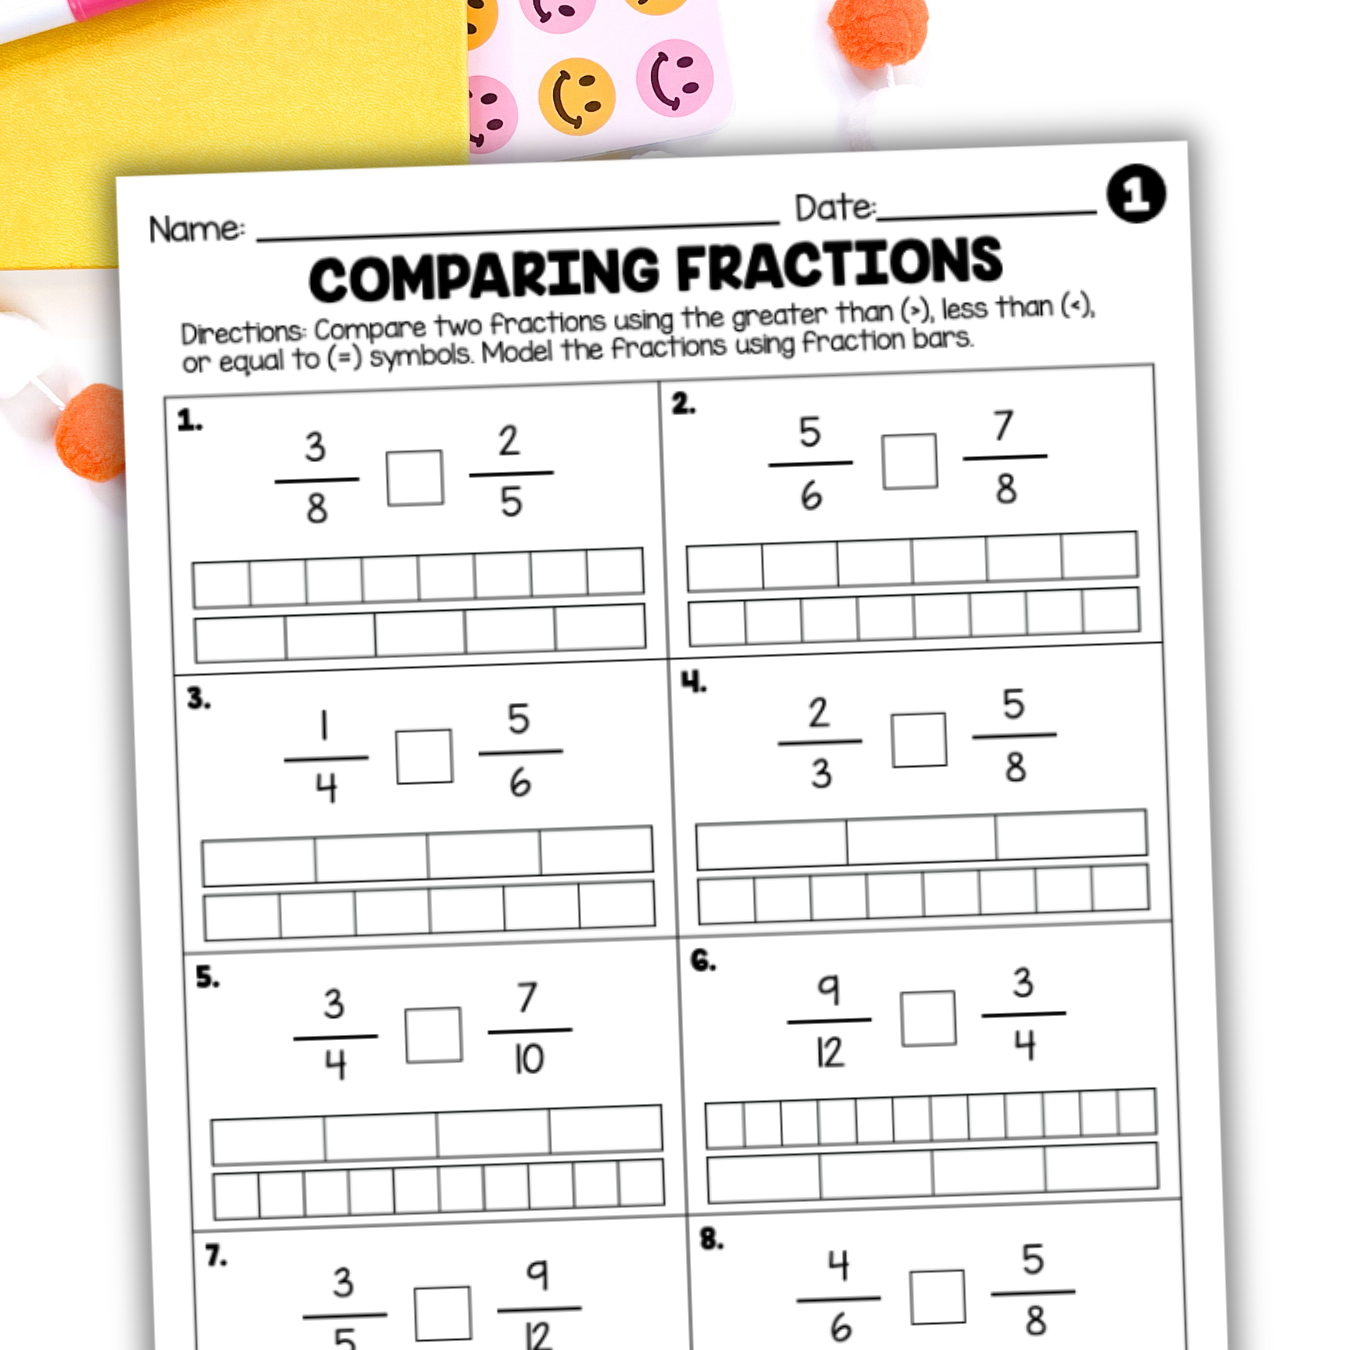
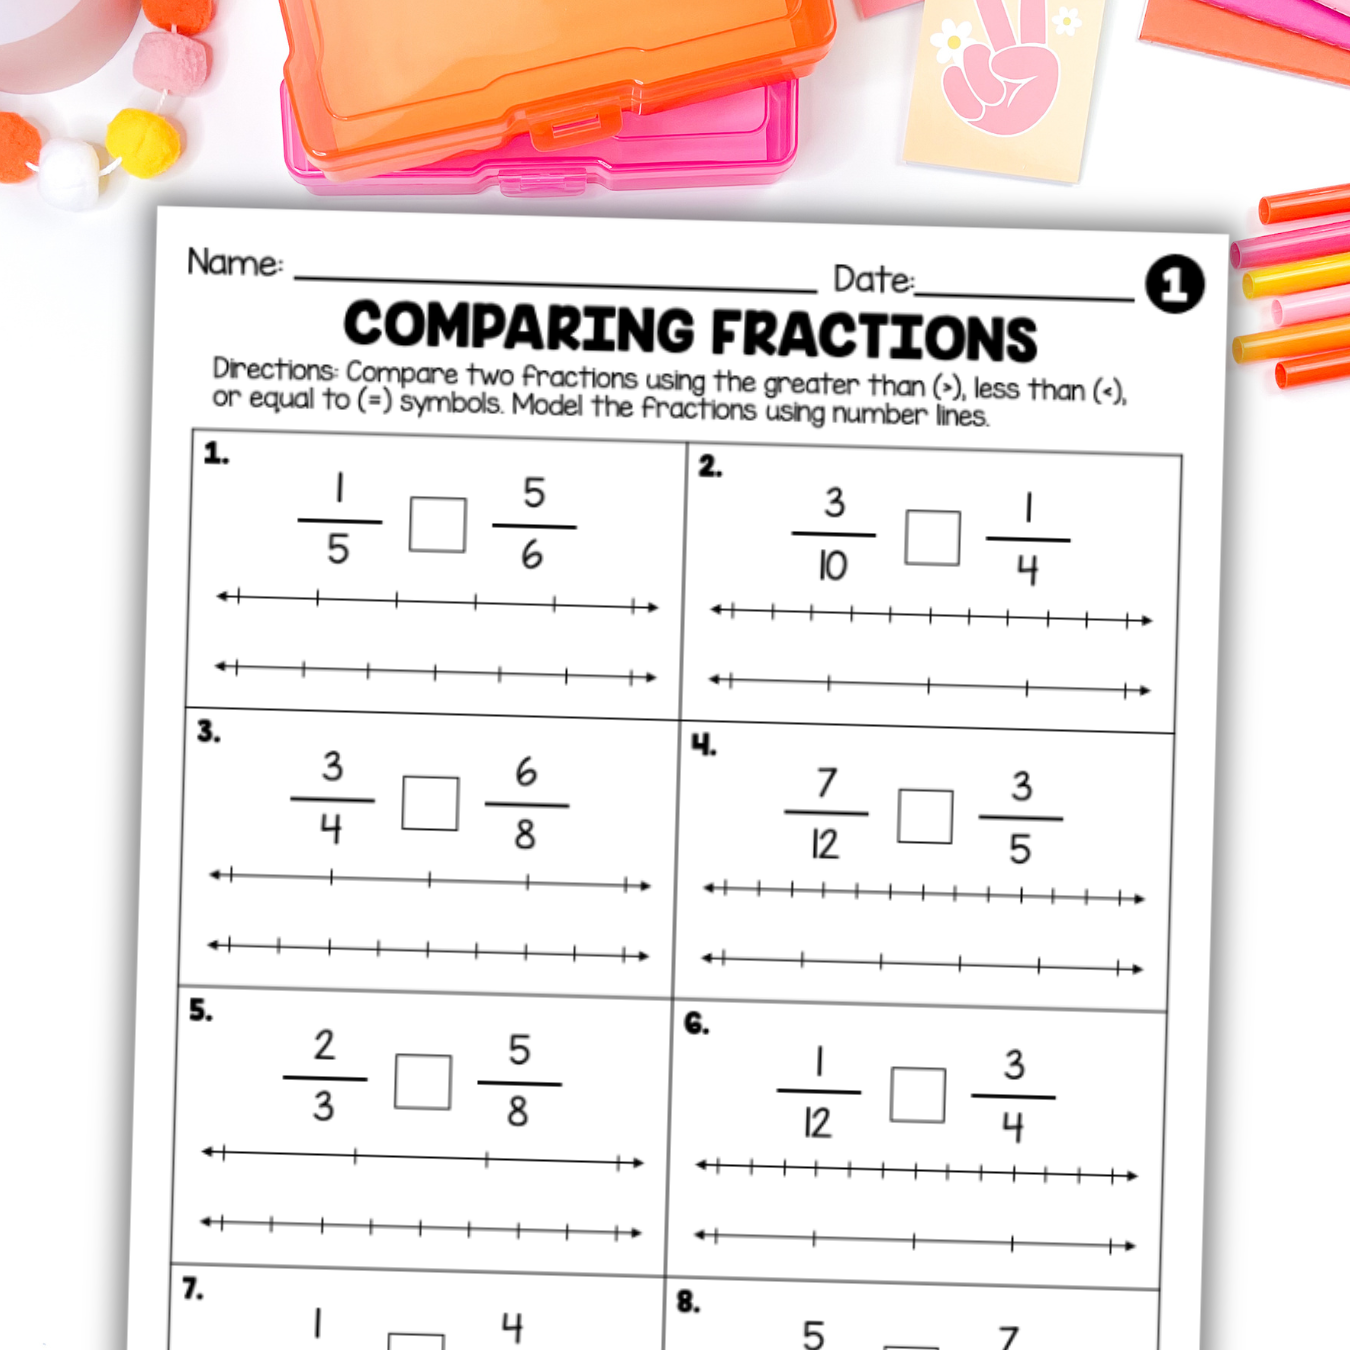
Start with Visual Models (Number Lines + Bar Models)
Before jumping into procedures, students need to see what fractions represent.
This is where visual models make a huge difference.
Using visuals like number lines and bar models help students to understand:
how big a fraction is
where it falls compared to others
why one fraction is greater or less
When students can visualize fractions, they stop guessing – and start reasoning.
Visual models are especially helpful for:
compare parts of a whole
see equivalent fractions
understand relationships between fractions
This is why starting with visual fraction practice builds such a strong foundation, it makes everything else easier.
These bar model and number line activities give students a clear visual way to compare fractions, helping them build confidence and make sense of what they’re doing.
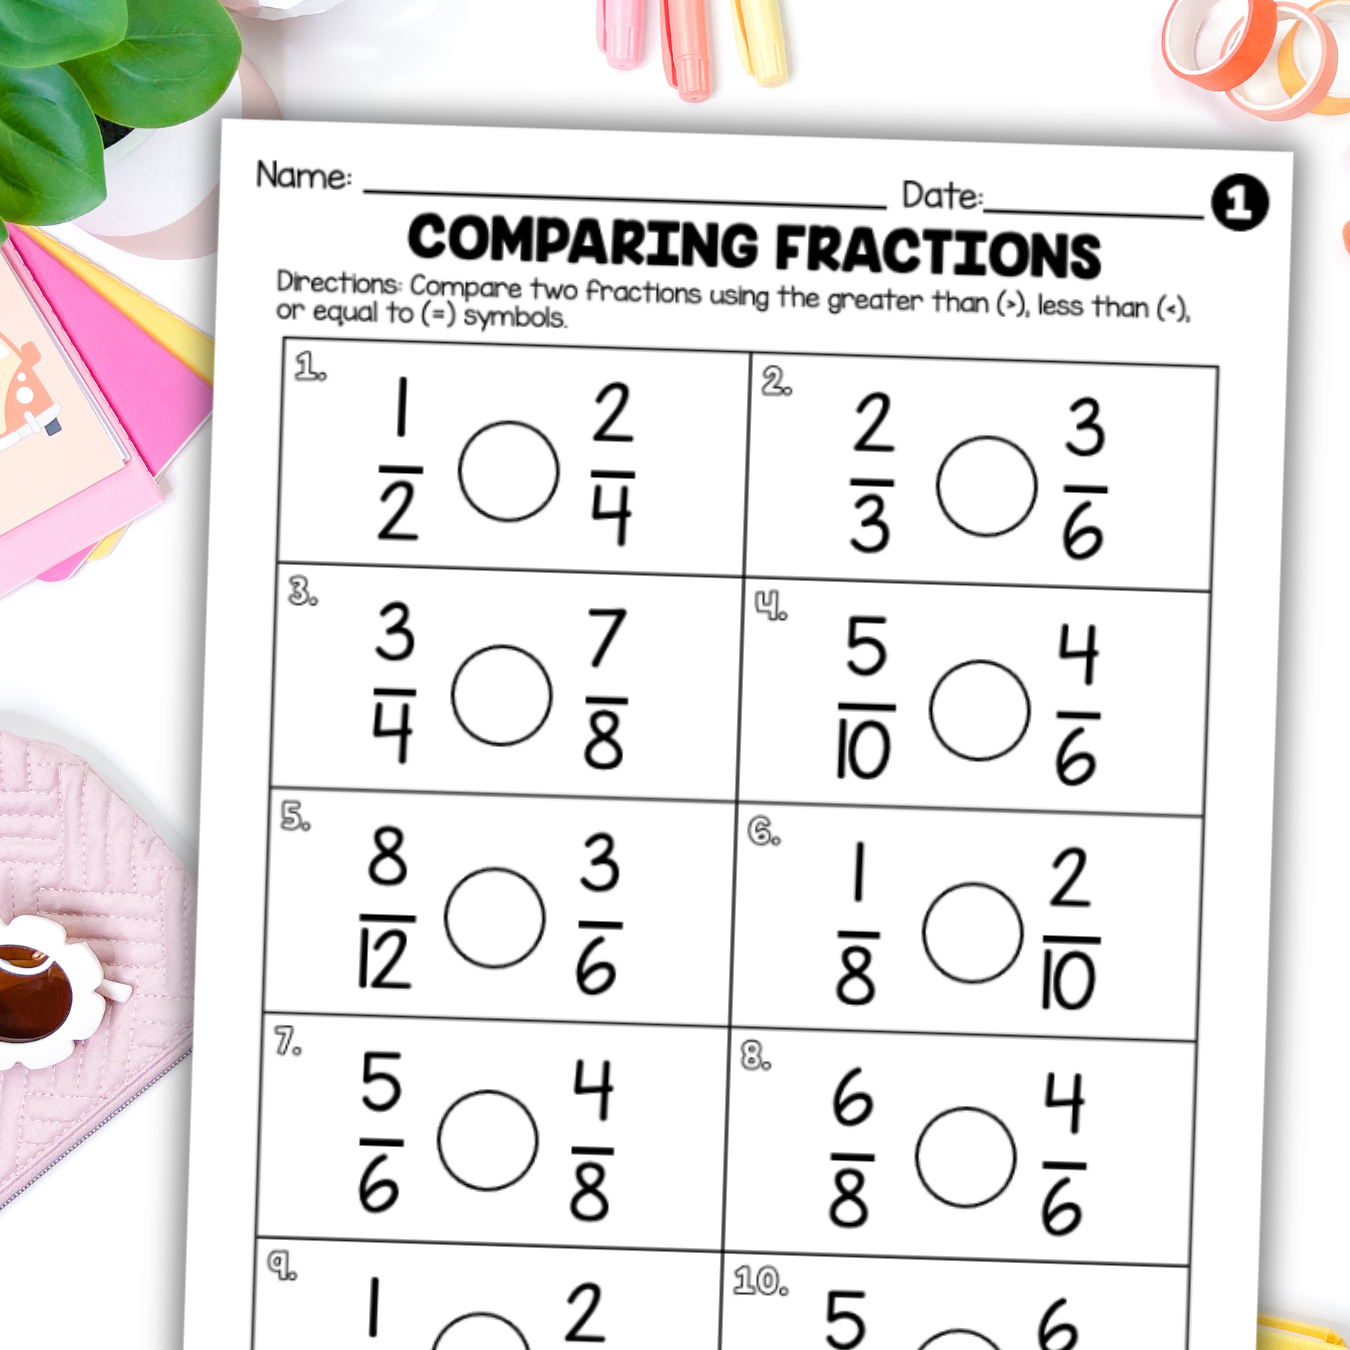
Use Benchmarks and Reasoning (Without Visuals)
Once students have a visual understanding, they’re ready to compare fractions without models.
This is where reasoning comes in.
Teach students to ask:
Is this fraction greater than or less than 1/2?
Is it close to 1?
Are the fractions close together or far apart?
These types of questions help students think instead of memorize.
This strategy is especially helpful when:
denominators are different
numbers are larger
drawing models would take too long
Students start to feel more confident because they’re making sense of the fractions – not just following steps.
If your students are ready to move beyond visual models, these benchmark and reasoning worksheets guide them in comparing fractions with confidence and independence.
If your students are ready to move beyond visual models, these benchmark and reasoning worksheets guide them in comparing fractions with confidence and independence.
When to Use Common Denominators
Common denominators are still important, but they shouldn’t be the only strategy students rely on.
Once students understand fraction size, finding a common denominator becomes much more meaningful.
This is where using the least common multiple (LCM) helps students follow a clear, consistent process.
If you want a step-by-step breakdown of how to teach this, you can read more here:
How to Teach Finding Common Denominators (Without Confusing Your Students)
When used at the right time, this strategy helps students:
compare accurately
work with more complex fractions
feel more confident with their answers
Mix Strategies for Real Understanding
Instead of relying on just one method, students should practice:
visual models
reasoning and benchmarks
common denominators
Each strategy strengthens their understanding in a different way.
When students use these approaches together, they make fewer mistakes, build stronger number sense and retain what they learn.
A Simple Way to Support Your Students
If you want to make this easier to implement in your classroom, focus on giving students:
Visual practice with number lines and bar models
Opportunities to use reasoning and benchmarks
Structured practice with common denominators
Repeated exposure to all three strategies
When these pieces work together, students build confidence and independence over time.
This comparing fractions bundle brings all three strategies together: number lines, bar models, and benchmark reasoning – so students can practice each approach in a consistent way.
Pair it with finding common denominators practice when needed to give students a complete understanding of how to compare fractions.